I love flowers (who doesn’t?). But, I have never been great at transitioning flower bunches into an actual arrangements. A few weeks ago, I took a flower class taught by Michael and Darroch from Putnum & Putnum. They did an incredible job putting on the event, which was hosted at The Kitchen Table, a beautiful loft space tucked away in Little Italy. With a little champagne, delicious finger foods, and gorgeous flowers to play with, it was an afternoon well-spent.
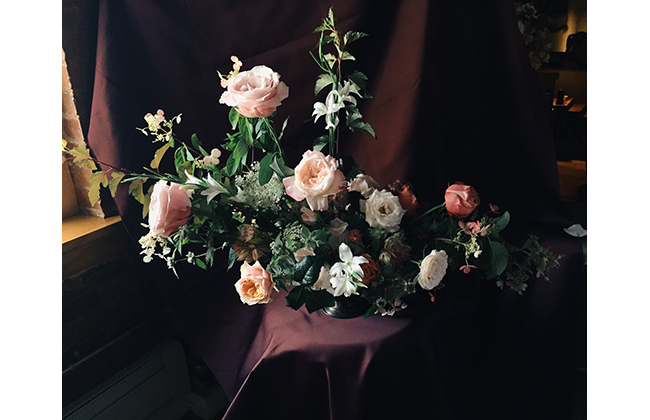
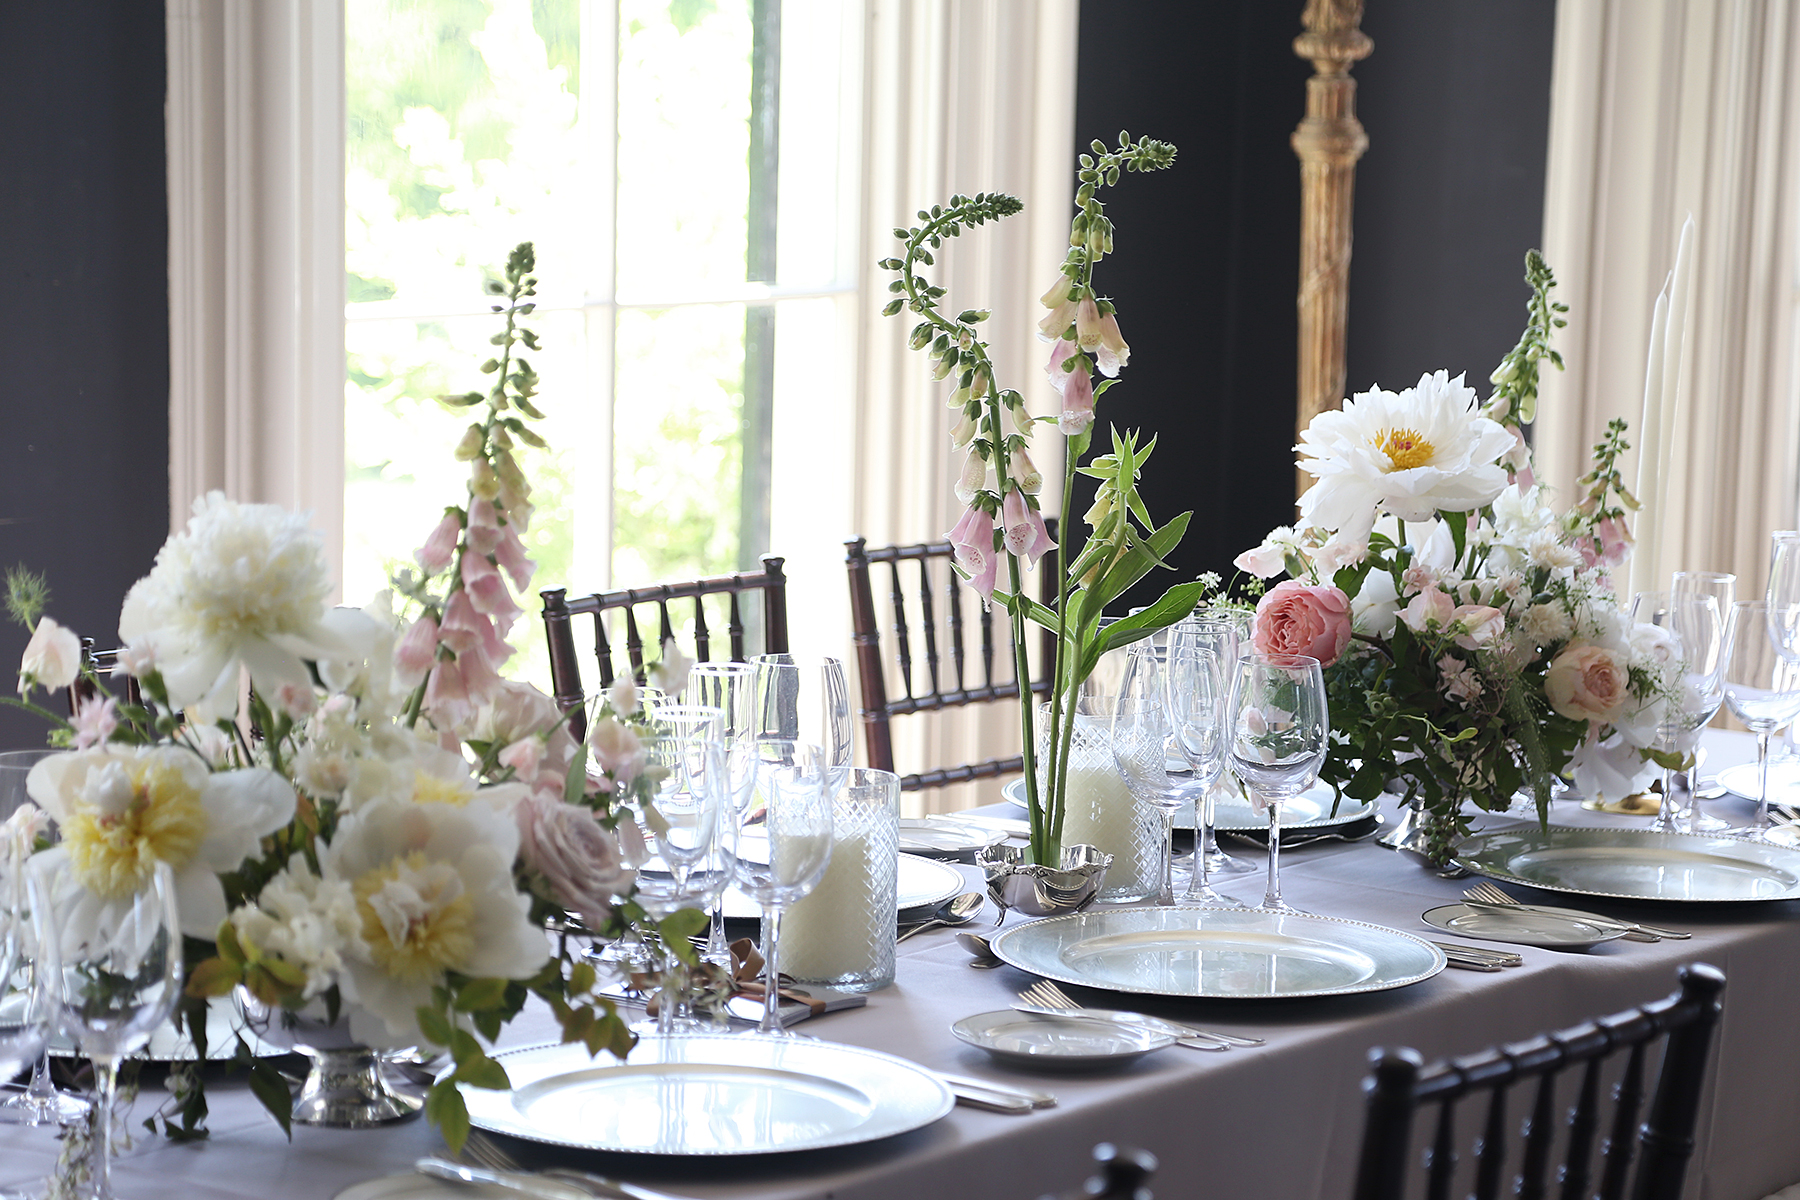
If you aren’t familiar with Putnam’s work, they happen to be the florist of-the-moment in NYC and are creating some of the most beautiful installations in fashion, as well as party tablescapes. Their arrangements have sort of a Dutch painting aesthetic, which make them dramatic and absolute knockouts.
The class was a total success – I loved my finished arrangement. And there was no way I would have every had the guts or know-how to make what I learned in their class without Michael’s guidance.
*these two pictures via Putnum & Putnum
Here are some of learnings from the day…
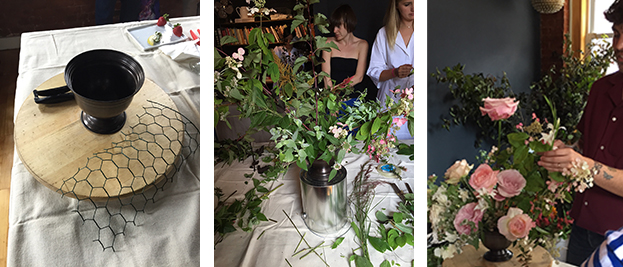
Tools:
1) flower shears
2) chicken wire
3) vase
4) clear flower tape (1/4 in wide)
5) spinning stand to rotate the arrangement
Guides:
1) use at least 3 face flowers (garden roses are an example of a face flower)
2) you want asymmetry, but always balance
3) have some negative space in the middle of the arrangement- and tuck in some amazing flowers as a little surprise!
4) transition color from light to dark or change in color from left to right
5) always add different layers, some for texture
6) work in 3’s (2 or 3 of the same flower throughout)
7) you can get away with 3 varieties of flowers at the market, but 5 is more ideal
Arranging Process:
1) set the structure of the arrangement with stems/branches first
2) next, add the face flowers (remove thorns!)
3) then add secondary flowers
4) last, add the filler flowers and texture flowers
4) if arrangement is going to been seen from all sides, make sure the arrangement is mirrored on both sides
Happy Arranging!

